
This guide will walk you through setting up your MongoDB development environment on Windows.
Installation Options
MongoDB can be installed on Windows through several methods:
- Official MongoDB installer (recommended for beginners)
- Package managers:
- Chocolatey
- Scoop
- Containerization:
- Docker
- Virtual Machine
We’ll focus on the official installer method as it’s the most straightforward approach.
Installing MongoDB Community Edition
MongoDB provides two essential tools for database interaction:
- MongoDB Compass - A powerful GUI for visual database management
- MongoDB Shell - A command-line interface for database operations
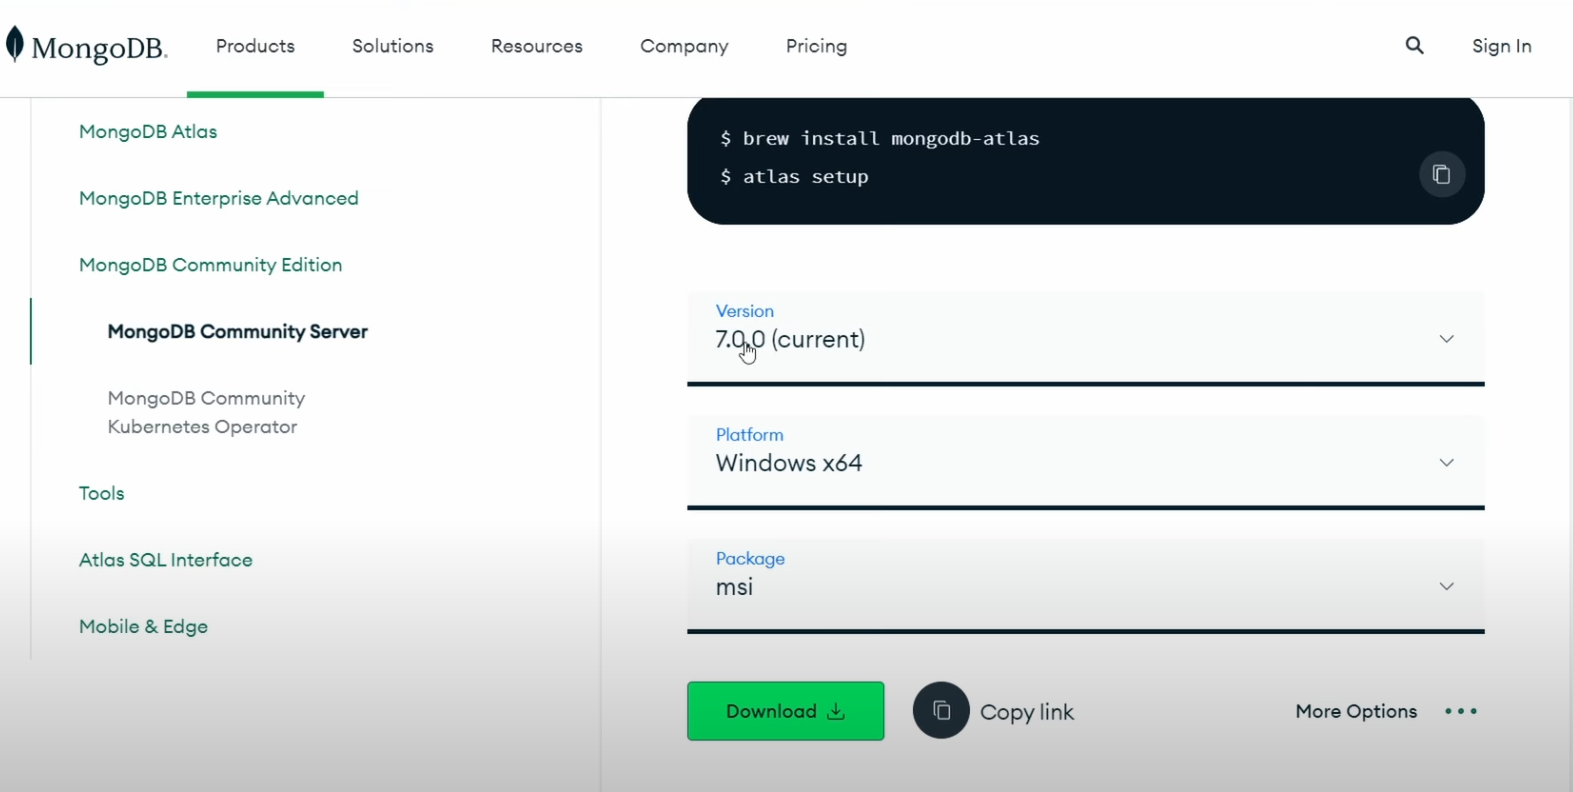
Step 1: Download and Install MongoDB
- Visit the MongoDB Download Center
- Download the latest MongoDB Community Edition
Step 2: Installation Configuration
During installation:
- Choose “Complete” at the “Setup Type” step
- Enable “Install MongoDB as a Service” for automatic startup
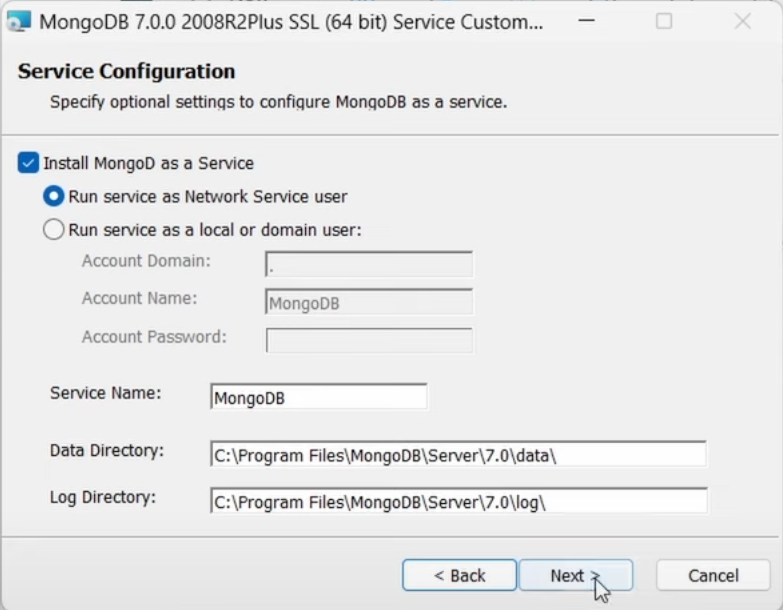
- Select “Install MongoDB Compass” when prompted to install the GUI tool
Step 3: MongoDB Shell Setup
To enable command-line database operations:
- Visit the MongoDB Shell Download Page
- Download the latest version
- Choose your preferred installation method:
- MSI installer: Automatically handles PATH configuration
- ZIP archive: Requires manual PATH configuration
If using the ZIP archive, remember to add the MongoDB Shell directory to your system’s PATH environment variable.