MongoDB Embedded vs Reference Model. Transactions. Aggregations.
Table of Contents
Open Table of Contents
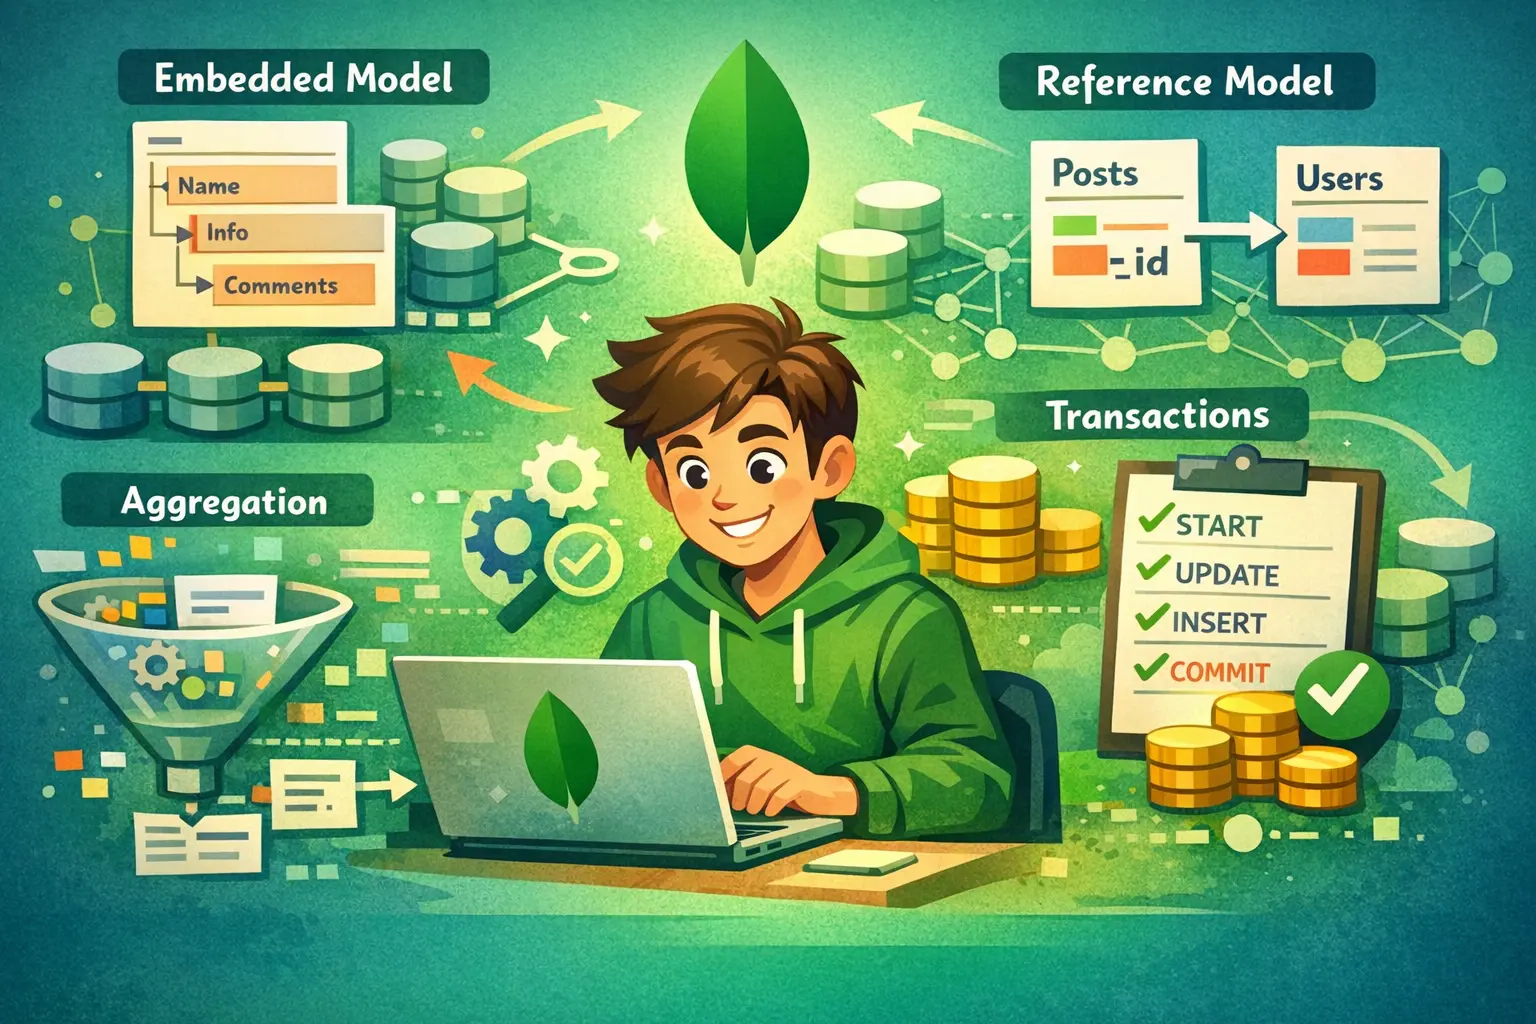
Embedded vs Reference Model
MongoDB allows modeling your database schema around two data models:
-
Embedded: The Embedded document model allows to store your relevant data altogether, as subdocument(s) in a single collection.
-
Reference: The Reference document model allows you to store your data separately, i.e. in different collections, and refer your relevant data by unique IDs, i.e. similarly to Relational Databases (MySQL and etc…).
The model you pick, depends on your use case. It is also possible to mix the two models, depending on your application requirements.
Embedded Document Model Example
Imagine employees collection where we store employee related Data. We have 1:1 relationships for department and salary fields, and 1:M for the addresses:
{
  "_id" : ObjectId(...),
  "name" : "John Smith",
  "department" : "dev",
  "salary" : 4000,
  "addresses" : [
    {
      "type" : "office",
      "city" : "Sofia",
      "street" : "Tsarigradsko Shose 47"
    },
    {
      "type" : "home",
      "city" : "Sofia",
      "street" : "Boulevard Bulgaria 61"
    },
    {
      "type" : "home",
      "city" : "Plovdiv",
      "street" : "Hristo Botev 2"
    }
  ]
}
Another example would be an order, which contains an array of products that a customer had ordered.
Create an eshop database and orders collection. Insert the below data into the orders collection.
[
  {
    "_id": "ORD_001",
    "customer_name": "Ivan Ivanov",
    "address": {
      "city": "Sofia",
      "street": "Kliment Ohridski 8"
    },
    "products": [
      {
        "name": "Lenovo Thinkpad T15 Gen4",
        "price": 1500,
        "qty": 1
      },
      {
        "name": "Samsung Galaxy S25 FE",
        "price": 600,
        "qty": 1
      }
    ]
  },
  {
    "_id": "ORD_002",
    "customer_name": "Mihaela Dimitrova",
    "address": {
      "city": "Sofia",
      "street": "Dragan Tsankov 22"
    },
    "products": [
      {
      "name": "Apple Macbook M4 Pro 14 inch",
      "price": 2000,
      "qty": 1
      },
      {
      "name": "Apple AirPods 4 Pro",
      "price": 250,
      "qty": 1
      }
    ]
  }
]
Let’s use the below filter, to find the orders, where a “Macbook” was bought:
{ "products.name" : /macbook/i }
As long as we have the products data within the document, the above query is not hard, right?
The Embedded Document Model is usually recommended for 1:1 and 1:M relationships. However, in case the Many side of the relationship is limited in size. If this side of the relationship can grow indefinitely (for example comments in social media), Reference model is prefered.
The benefits of the Embedded Document Model are:
- Fast reads/lookups - no need for SQL like JOINS
- Atomic operations - i.e. you change the whole document AT ONCE, with one operation, without the need of transactions.
- The parent document and child documents have the same lifecycle, i.e. if we want to delete the employee, we don’t need his employment data -
department,salary,addresses. Same concept applies for theorderexample. We bound together the Customer’s data -name,addressand theproductsdata -name,price,quantity.
We duplicate some of the data - customer_name, address, also product’s name and price. The products may have different prices tomorrow, the customer may delete his profile on the e-shop, but the e-shop owner needs to have the order data for his own needs - legal requirements, statistics, etc.., hence we use the Embedded model to bound together the data that has same lifecycle.
Reference Document Model Example
The Reference Document Model - in this model the data is being stored in different collections, and documents from one collection refer documents from other collections by _id and vice versa. This model is suitable for M:N relationships.
Imagine a social network platform with posts, users, and comments.
{
  "_id" : ObjectId("69dbfcbdc2f9d8e3922a5f0e"),
  "user_id" : "user_id",
  "post_text" : "What is your favourite NoSQL DB?",
  "comments" : [
    {
      "name" : "Ivan Petrov",
      "text" : "It depends on the use case."
    },
    {
      "name" : "Dimitar Ivanov",
      "text" : "I enjoy the flexibility of MongoDB."
    }
  ]
}
We see the comments are embedded within the post document. The name of the users is also embedded. However, imagine a user changing his name? What name would appear in the old comments of that user?
This introduces a design decision:
- Do we want historical accuracy? (keep old name -> Embedded model)
- Do we want real-time consistency? (always show current name -> Reference model)
In this case a better decission would be to have consistency - show the current name, hence we decide to use the Reference Document Model. Instead of having the user’s name directly in the document, we refer the user by id via user_id:
{
  "_id" : ObjectId(...),
  "user_id" : "user_id",
  "post_text" : "What is your favourite NoSQL DB?",
  "comments" : [
    {
      "user_id" : ObjectId("69dbfb96c2f9d8e3922a5f08"),
      "text" : "It depends on the use case."
    },
    {
      "user_id" : ObjectId("69dbfb96c2f9d8e3922a5f09"),
      "text" : "I enjoy the flexibility of MongoDB."
    }
  ]
}
The drawback however is, that we have to perform an SQL like JOIN of the posts collection with users collection, so we display the user’s name when we want to display the posts and comments.
Let’s try the example.
Create a database named social and users collection inside it:
[
  {
    "_id" : { "$oid" : "69dbfb96c2f9d8e3922a5f08"},
    "name" : "Ivan Petrov"
  },
  {
    "_id" : { "$oid" : "69dbfb96c2f9d8e3922a5f09" },
    "name" : "Dimitar Ivanov"
  }
]
Create posts collection inside the social database and insert the following data:
{
  "user_id" : "user_id",
  "post_text" : "What is your favourite NoSQL DB?",
  "comments" : [
    {
      "user_id" : {"$oid" :"69dbfb96c2f9d8e3922a5f08"},
      "text" : "It depends on the use case."
    },
    {
      "user_id" : {"$oid" : "69dbfb96c2f9d8e3922a5f09"},
      "text" : "I enjoy the flexibility of MongoDB."
    }
  ]
}
In order to perform the JOIN between the two collections, we need to use aggregation and the $lookup operator:
db.posts.aggregate(
	[
    // 1. Break the 'comments' array into individual documents. If a post has 2 comments, it becomes 2 separate documents.
		{$unwind : "$comments"} ,

    // 2. JOIN: Look up the user details from the 'users' collection based on the user_id inside each individual comment.
		{$lookup : {
					from: "users",
					localField : "comments.user_id",
					foreignField : "_id",
					as : "comment_user"
					}
		} ,

    // 3. Since $lookup returns an array, we "unwind" the comment_user to turn it into a single object.

		{$unwind : "$comment_user" },

    // 4. Inject the user's name from the joined data
		{$addFields : {"comments.name" : "$comment_user.name"}},

    // 5. Group the flattened documents back into the original post structure, pushing the updated comments into an array.

		{$group :
			{
				_id : "$_id",
				user_id : {$first : "$user_id" },
				post_text : { $first : "$post_text"},
				comments : {$push : "$comments" }
			}
		}
	]
)
Important! Aggregation pipelines with $lookup can be expensive on large datasets. They should be used carefully and often optimized with indexes.
Conclusion
When to use Embedded Model:
- Data is always read together
- Data has the same lifecycle
- The array size is limited (not growing indefinitely)
- You need fast reads
When to use Reference Model:
- Data changes frequently
- Data is shared across multiple documents
- You have many-to-many relationships
- The embedded array can grow large (unbounded)
Common Mistakes:
- Embedding unbounded arrays (e.g. millions of comments)
- Over-normalizing (too many references → too many joins)
- Not considering data lifecycle
- Ignoring read vs write patterns
Transactions
A Transaction in a database system is a sequence of operations that are treated as one logical unit. Either all operations are completed, either all of them fail.
In MongoDB, an operation on a single document is atomic. The Embeded Document Model allows to put related data within the same document, hence the necessity for transactions is reduced. However, there are cases where there is a need to perform atomic operations accross multiple documents and collections. This is where the Transaction role comes into play.
Fortunately MongoDB provides support for ACID transactions. ACID stands for:
- Atomicity - Transactions are all-or-nothing; if one operation fails, the entire transaction rolls back.
- Consistency - Ensures the database moves from one valid state to another, maintaining data integrity.
- Isolation - Concurrent transactions do not interfere with each other, providing snapshot isolation.
- Durability - Completed transactions are recorded in the transaction log and persisted, even during a system failure.
When to use Transactions
- You have operations over multiple documents/collections
- You have financial operations
- You have strong consistency requirements
- You cannot embed the data together, in a single document, hence you cannot avoid the use of transactions
Transaction example
Imagine the following classical example - we have a bank database and accounts collection. We want to transfer money from one account to another, so we have two operations:
- Take an amount of money from the source account
- Add the taken amount of money to the destination account.
var session = db.getMongo().startSession();
session.startTransaction();
var accounts = session.getDatabase("bank").accounts;

try {
	accounts.updateOne( { username: "borislav" }, { $inc: { balance: -100 } } );
	accounts.updateOne( { username: "ivan" }, { $inc: { balance: 100 } } );

	session.commitTransaction();

} catch (error) {
	print("An error occured: " + error);
	session.abortTransaction();
} finally {
	session.endSession();
}
Here are the main concepts regarding the MongoDB Transactions:
-
Client - the application that initiates the transaction. In our case this is the Mongo Shell (i.e.
mongosh) -
Session - in order to start the transaction, we first establish a Session. The Session allows the MongoDB server instance to associate a sequence of operations with the Client that performs them.
-
Transaction - a group of operations that have to be executed atomically within a Session. Either all or nothing succeeds.
-
Operations - the particular operations executed over the database - CRUD (create, read, update, delete).
Note: The transaction operates over a snapshot of the data, taken at the begining of the transaction. Hence, from transactions perspective we see the same data during execution. As the transaction tries to modify document (update/delete/insert), it performs a check whether the affected document had been modified from another transaction or outside a transaction. If that’s the case, an error occurs and the transaction gets aborted.
Transaction Demo
In order to try the Transactions in MongoDB you need to have a MongoDB Cluster (i.e. a Replica set). By default, the standard installation of MongoDB consists of a single node, i.e. it is not Cluster/Replica Set.
Your teacher will provide you an access to cloud-based MongoDB Cluster, where you will be able to try the Transactions.
Once you have connection to the cluster, create bank database and insert into accounts collection the following documents:
[
  {
    "username": "borislav",
    "balance": 1000
  },
  {
    "username": "ivan",
    "balance": 300
  }
]
Now, execute the below statements, IN CHUNKS. Please CHANGE your database name in Chunk 1 according to the account suffux number, provided by your teacher, i.e. for account student001, the db name will be bank001, for account student002 db name will be bank002, and so on…:
//Chunk 1:
var session = db.getMongo().startSession();
session.startTransaction();
var accounts = session.getDatabase("bankXXX").accounts;

//Chunk 2:
accounts.updateOne( { username: "borislav" }, { $inc: { balance: -100 } } );

//Chunk 3:
accounts.updateOne( { username: "ivan" }, { $inc: { balance: 100 } } );

//Chunk 4:
session.commitTransaction();
Check the results after the transaction. The money transfer should be successful.
Now, we will try to simulate a write conflict during the transaction. Here is the idea - we start transaction and deduct money from borislav. At this point we manually modify the balance of ivan via Compass. Then we continue with the “money transfer” - we transfer the deducted money from borislav to ivan (Chunk 3), below are the steps:
- Execute operations from Chunks 1 and 2
- Modify via Compass, the
balanceofivan, give him some money. - Continue execution with Chunk 3
You should observe a WriteConflict error.